
Adobe Illustrator is the most popular graphic software because it is user-friendly and versatile. One of Adobe Illustrator’s standout features is the Image Trace Tool. This unique tool allows you to convert raster images into editable vector artwork. In this article, we’ll explore the capabilities of Adobe’s Image Trace Tool and learn how to make the most of it in your design projects.
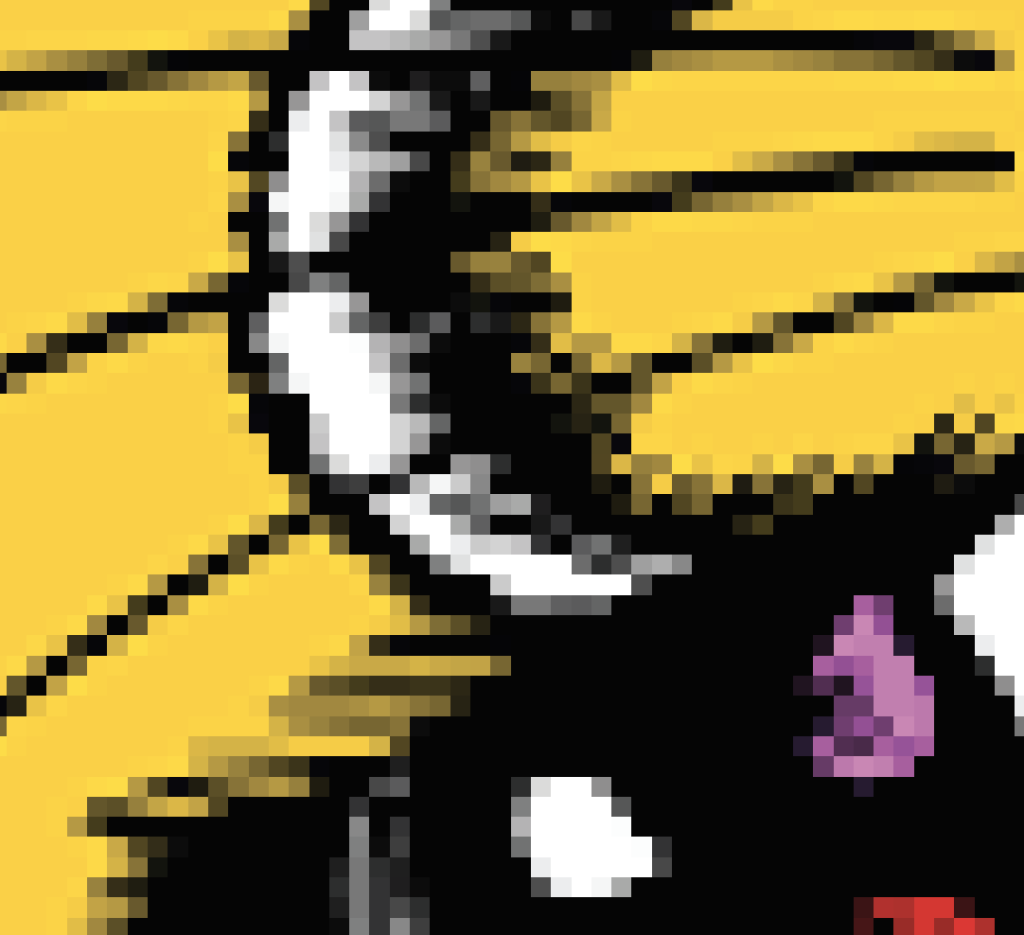
In simple terms, a raster image is a type of digital image that is made up of a grid of small colored squares called pixels. Each pixel contains specific color information, and when these pixels are arranged together, they form the complete image. Raster images are commonly used for photographs and complex illustrations, and they are often saved in formats like JPEG, PNG, or GIF. One important thing to note about raster images is that if you try to enlarge them too much, the individual pixels become visible, leading to a loss of image quality.
That is why you can’t take a company logo off of a website, and use that same logo on a billboard, or even on a flier, without the image being blurry and pixelated. Instead, you would need to have a vector file for that logo that will maintain its quality no matter how big or small you make it.
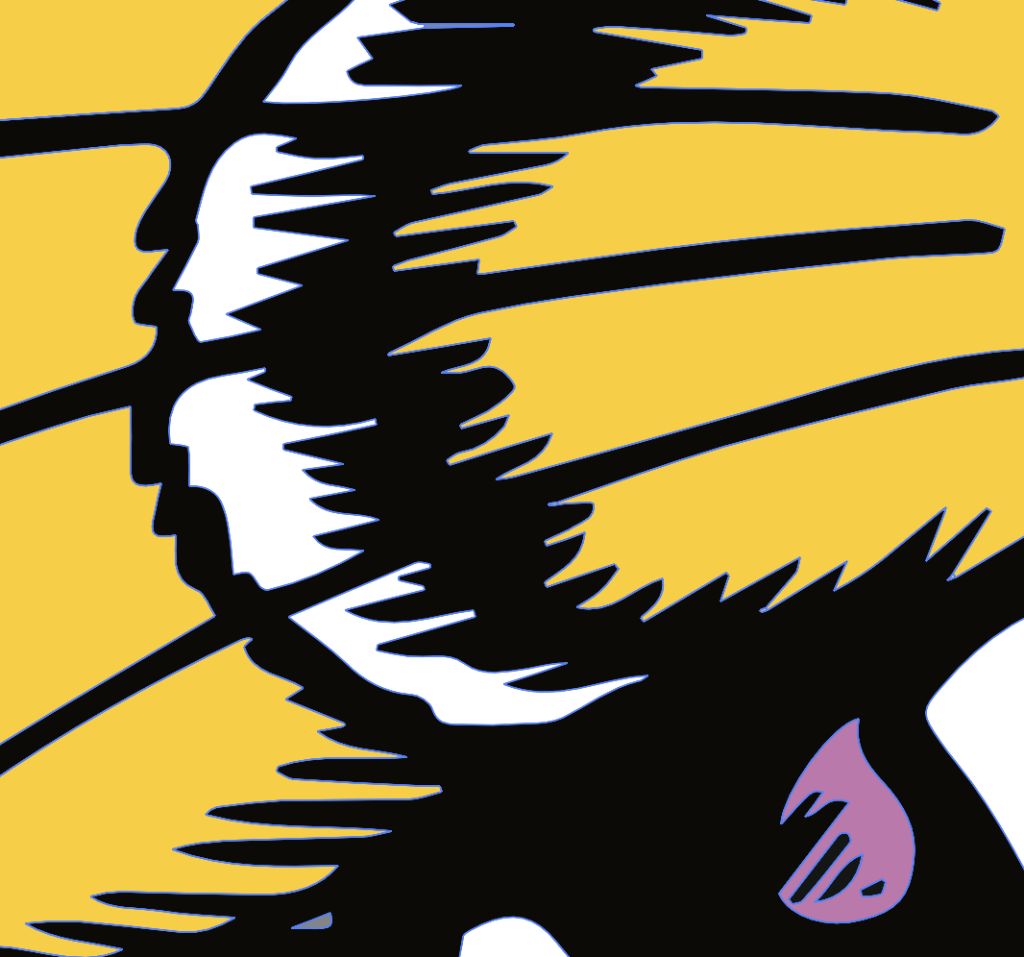
Vector images are a bit complicated to understand. Just know that vector images are a type of digital graphic that is created using mathematical formulas and points instead of a grid of pixels like raster images. Vector images use lines, curves, and shapes defined by mathematical equations. These mathematical formulas allow vector images to be infinitely scalable without any loss of quality.
Now that you understand the difference between a raster and vector image, let’s talk about how Adobe Illustrator makes it easy to turn a raster image into a vector graphic using the Image Trace Tool.
Before we dig into Adobe Illustrator’s Image Trace Tool, let’s do a quick side by side comparison of raster images to vector images so that it’s easier to understand why the Image Trace Tool is such a useful feature of Illustrator.
Raster images and vector images are two different types of digital image formats, each with its own characteristics and applications, as described below.
There are benefits of representing images in either format, but it’s good to know what the purpose of each format is. Raster images consist of pixels and are suitable for representing realistic visuals, while vector images are made up of mathematical formulas and are ideal for graphics that require scalability and precision.
The Image Trace Tool in Illustrator enables you to transform pixel-based images, such as photographs or scanned artwork, into scalable vector graphics. By doing so, you gain the ability to edit and manipulate the image with precision, change colors, adjust paths, and apply various effects—all while maintaining the scalability and flexibility of vector graphics.
1: Open Your Project in Adobe Illustrator
Once you have opened Illustrator, you can either go to File>Open and select the file from your computer you want to work with, or navigate to File>New and select a template to work from. The size of the artboard you select does not matter as you can easily change the size later, so don’t get hung up on this step. After you open an empty artboard, you can paste an image on your artboard to work with. Now that you have the raster image, you are ready for the Image Trace Tool.
2: Locate the Image Trace Tool
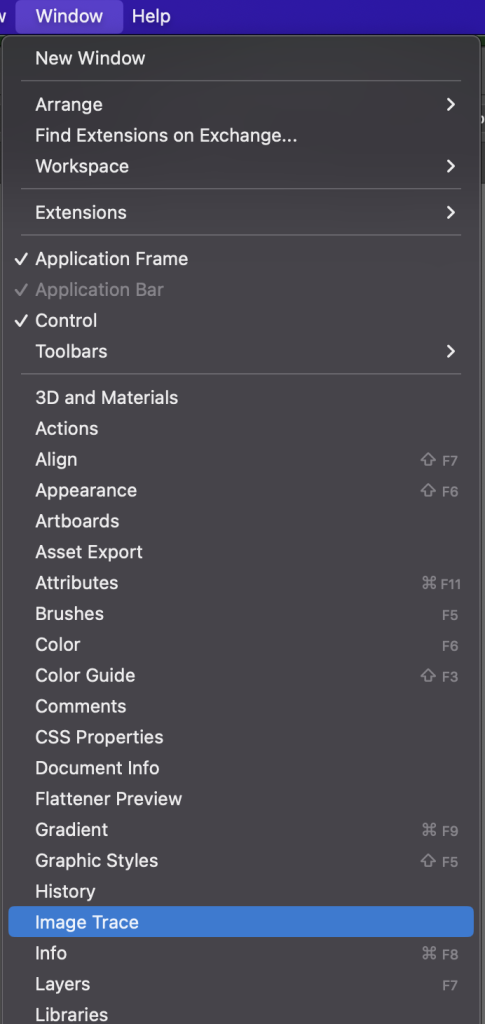
To access the Image Trace Tool, navigate in the toolbar at the top of your screen to Window>Image Trace. This will bring up the Image Trace panel, where you can fine-tune the settings to achieve your desired result.
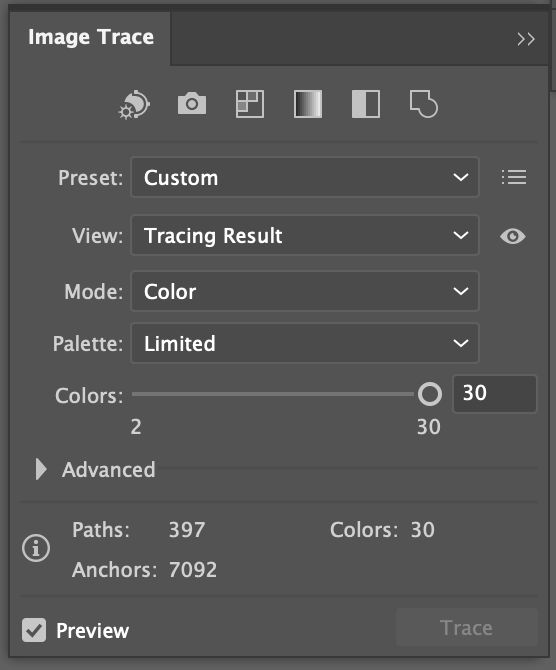
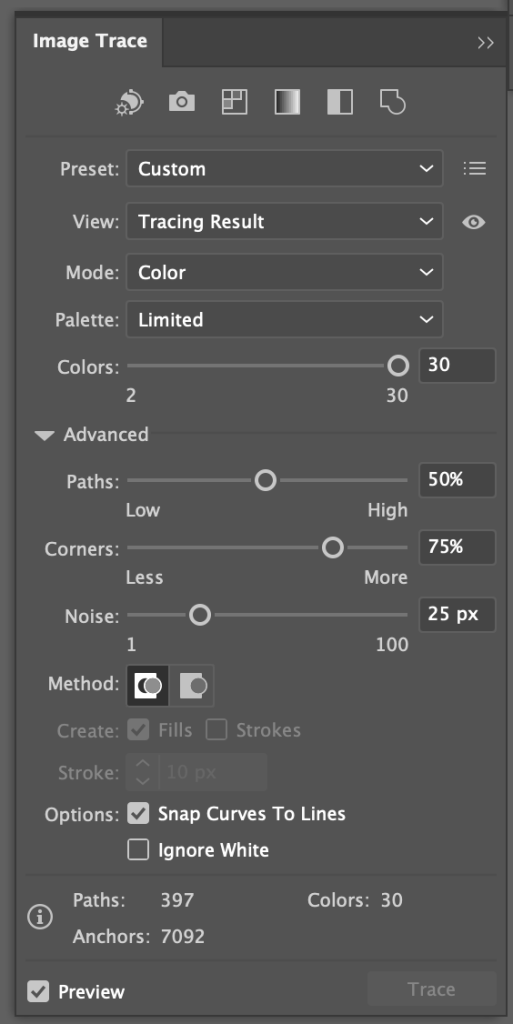
The Image Trace panel offers several options to customize the tracing process according to your specific needs. Here is a detailed explanation of what each of the setting options does:
We’ll talk more about fine-tuning these settings as we go.
3: Select Your Image
For now, make sure your image is selected. If the options in the Image Trace Window are grayed out, your image is not selected. Select the black arrow “Selection Tool” from the tool menu and click on the image to select it.
4: Check the Preview Box
Check the Preview box located at the bottom of the Image Trace Window. This will allow you to see the results you will get as you make changes to your settings. Note that the Trace button will be grayed out if the Preview box is checked. That is because the program automatically traced your design as settings are updated.
5: Select A Mode
In the Image Trace Window, select the mode that most closely matches your design. The options are color, grayscale, or black and white.
6: Adjust the Mode Slider
The name of this slider will be based on your selection in Step 5. You will see one of the following:
Colors – This specifies the maximum number of colors used for tracing. This option helps simplify the color palette of the traced image. By reducing the number of colors, you can achieve a cleaner and more streamlined vector representation. However, if you adjust the number of colors down too low, you image will be too simplified. Adjust the slider to control the level of color reduction.
Grays – This slider specifies the grayscale accuracy used and can be set from 0 to 100.
Threshold – Pixels darker than the threshold value are converted to black.
You’ll want to experiment with this slider until your image looks good based on your desired outcome.
Here are some examples of images and the settings used to get the desired outcome using the Image Trace Tool.
| Color Mode | Grayscale Mode | Black and White Mode |
 | 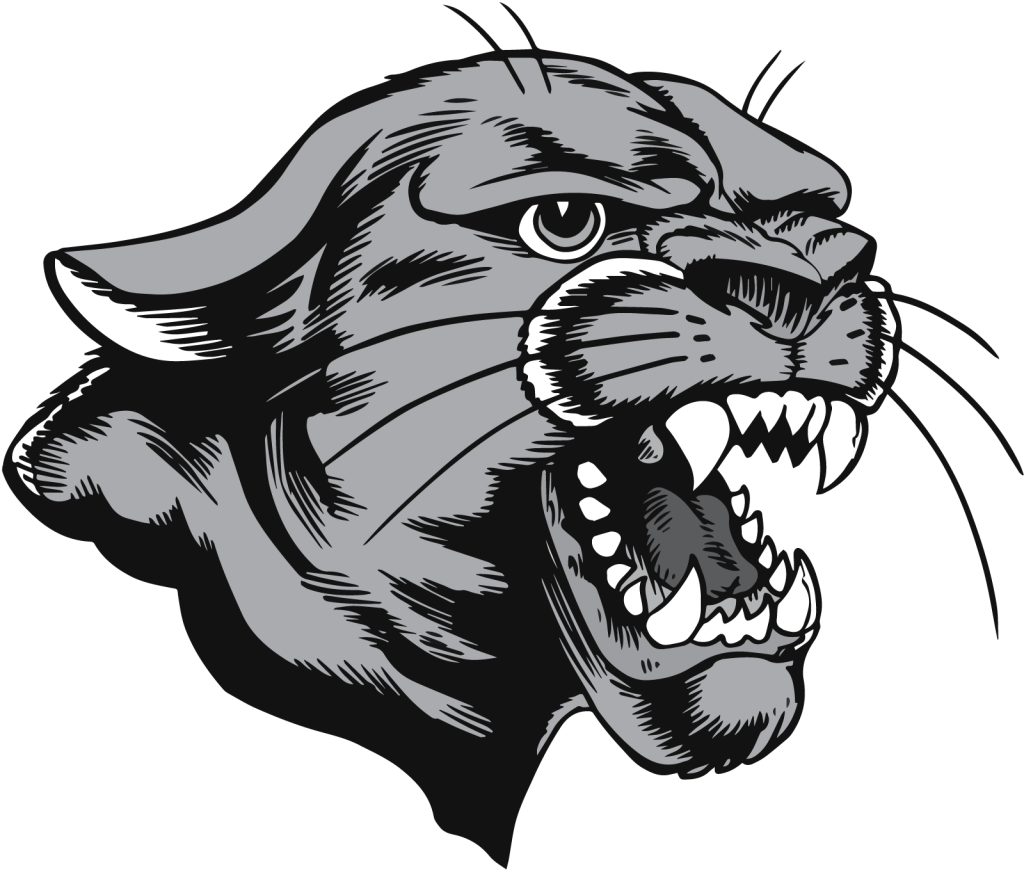 | 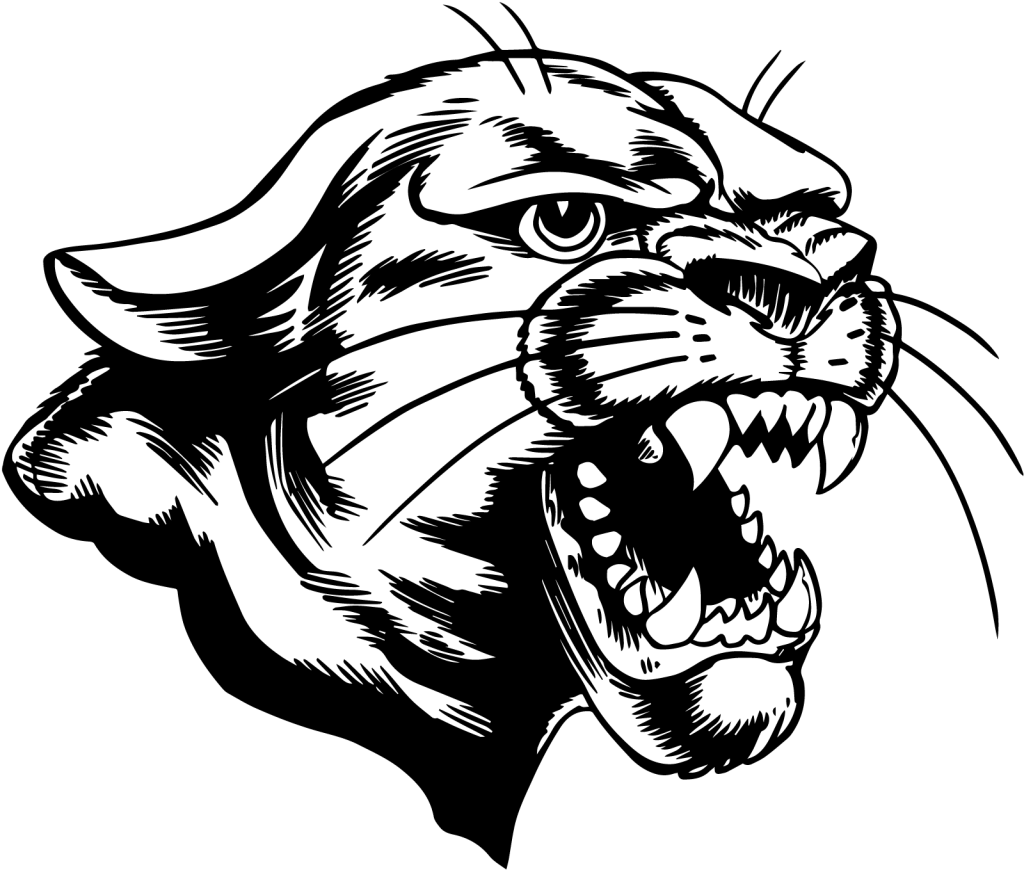 |
If you click on the arrow next to the word Advanced, you will see that there are even more ways to tweak the outcome you achieve using the Image Trace Tool. It is not necessary to adjust each of these options, but we’ll go over each one to help you understand what they do.
It’s a good idea to spend some time playing around with these settings so you can get a feel for how they affect the outcome of your image trace.
There is an informational section at the bottom of the Image Trace Panel that shows you how many paths, anchors, and colors are being used in your results.
Once you’ve customized the settings to your satisfaction, expand your image by navigating to Object>Image Trace>Expand in the navigation menu. This action converts the traced image into editable vector artwork, giving you complete control over each anchor point, path, and element. You can now freely modify the artwork, change colors, apply gradients, combine elements from different traced images, and even incorporate it into larger design compositions.

To make the most of the Image Trace Tool, consider the following tips:
The Image Trace Tool in Adobe Illustrator is a powerful tool used to transform raster images into editable vector artwork. With its customizable settings, precise control over paths and details, and the ability to maintain scalability and quality, the Image Trace Tool opens up a world of creative possibilities. As you explore the world of graphic arts, you are sure to be able to find several chances to use the Image Trace tool. In fact, it will likely become one of your “go to” tools in Illustrator.